Pulsar on StreamNative
StreamNative Cloud is a fully managed Pulsar service available on AWS, GCP, and Azure. This guide walks through connecting a StreamNative cluster to Numaflow.
Prerequisites
- Numaflow installed on your Kubernetes cluster
1. Create a StreamNative Cluster
- Go to streamnative.io and create an account at the StreamNative Console
-
Follow the guided prompts to create an organization
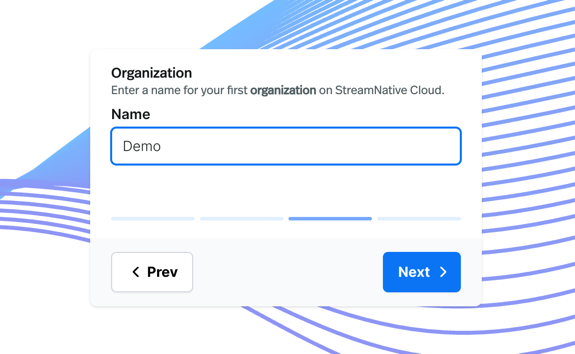
-
Follow steps 2–4 in the StreamNative Quickstart Console
Warning
Save your API key in step 3. You'll need it for the Kubernetes Secret later.
2. Create a Topic
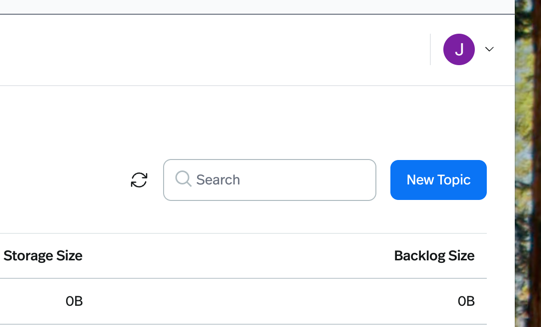
Select an instance, tenant, and namespace in the top-left bar. This will allow you to select "Topics" from the left side of the page:

Click "New Topic" and add a name and desired number of partitions. Remember your topic name — you'll need it for the ConfigMap later.
3. Get the Service URL
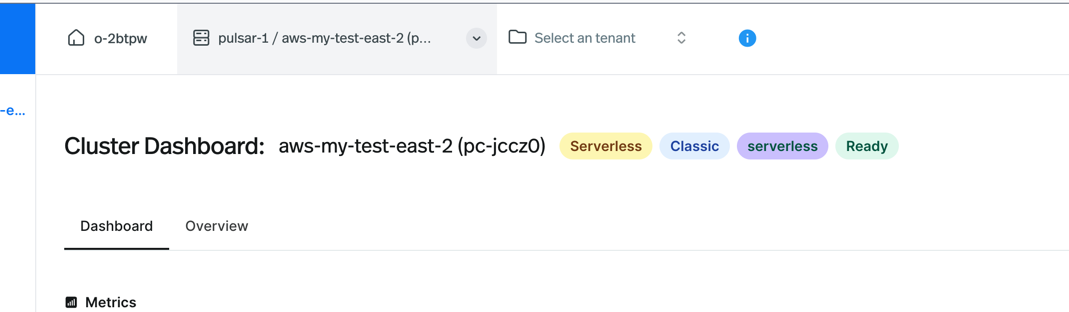
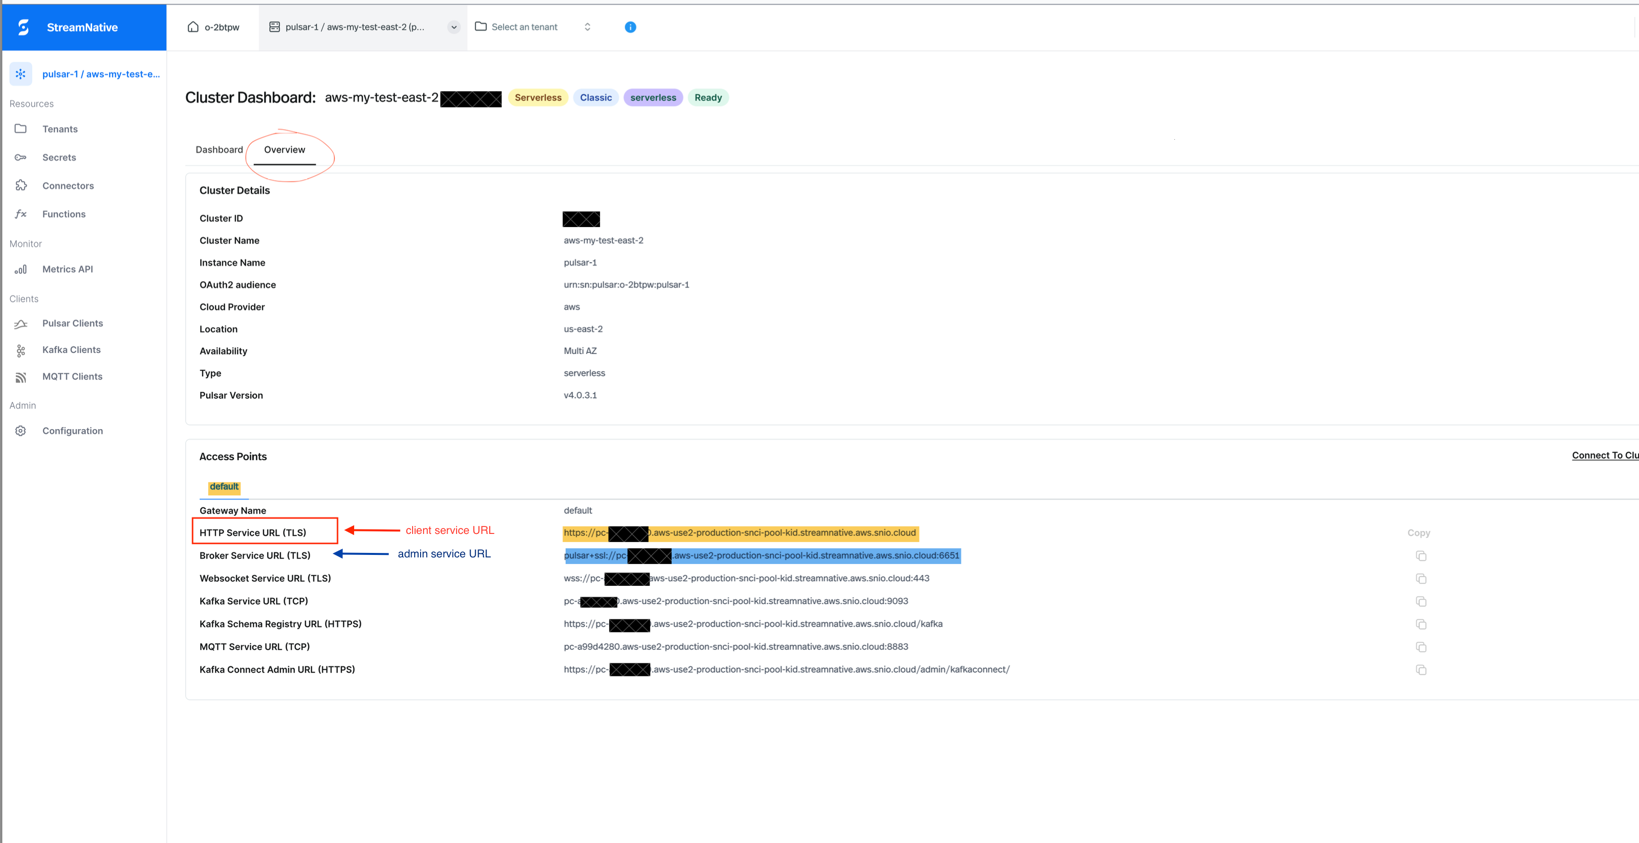
Select your Pulsar instance from the left sidebar, then click the "Overview" tab.
Copy the HTTP service URL
Copy the HTTP service URL (highlighted in red below). You'll need this for both the clientConfig.serviceUrl and adminConfig.serviceUrl in your ConfigMap.
4. Create the ConfigMap
Update the serviceUrl and topicName fields with values from steps 2 and 3. The topic name format is persistent://tenant/namespace/topic. See the Sink (Producer) or Source (Consumer) guides for the full ConfigMap spec.
kubectl apply -f <path-to-config-map.yaml>
5. Create the Secret
Create a Kubernetes Secret with the API key you saved in step 1:
apiVersion: v1
kind: Secret
metadata:
  name: pulsar-producer-auth-secret
type: Opaque
stringData:
  PULSAR_AUTH_TOKEN: "YOUR-API-KEY-HERE"
kubectl apply -f <path-to-secret.yaml>
Other authentication methods
This implementation supports API tokens, OAuth2, Basic Auth, and more via the Secret/ConfigMap pattern. Add your credentials to the Secret as environment variables, reference them in the ConfigMap using ${ENV_VAR_NAME} syntax, and apply both. No code changes required.
For production, consider External Secrets Operator with AWS Secrets Manager, Google Secret Manager, Azure Key Vault, or HashiCorp Vault.
6. Deploy the Producer Pipeline
This deploys a pipeline that generates one message every 10 seconds and publishes to your topic:
kubectl apply -f <path-to-producer-pipeline.yaml>
You should see throughput and storage changes in the StreamNative dashboard.
7. Deploy the Consumer Pipeline
To consume those messages, deploy a consumer pipeline using the Source (Consumer) guide. Use the same topic name and API key. Check the pod logs to see the messages produced by the first pipeline.
Schema Validation (Optional)
If you have an Avro schema registered on your topic, you can enable schema validation. See the Pulsar schema docs for background.
Producer ConfigMap:
producer:
  enabled: true
  useAutoProduceSchema: true    # validate payloads against the topic's schema
  dropInvalidMessages: false     # true = silently drop invalid messages; false = fail and retry
  producerConfig:
    topicName: "persistent://public/default/test-topic"
dropInvalidMessages: true— invalid messages are dropped, pipeline continuesdropInvalidMessages: false— invalid messages are reported as failures and may be retried
Consumer ConfigMap:
consumer:
  enabled: true
  useAutoConsumeSchema: true     # deserialize using the topic's registered Avro schema
  consumerConfig:
    topicNames: "persistent://public/default/test-topic"
If a message is invalid (schema mismatch or corrupt payload), the consumer throws a RuntimeException and the message is not acknowledged, so it may be redelivered.